Home Lab Beginner's Guide: Proxmox, Docker, and Self-Hosting Basics
Build your first home lab with a $200 mini PC. Learn Proxmox virtualization, Docker containers, and essential self-hosted services like Pi-hole and Jellyfin. No enterprise experience required.
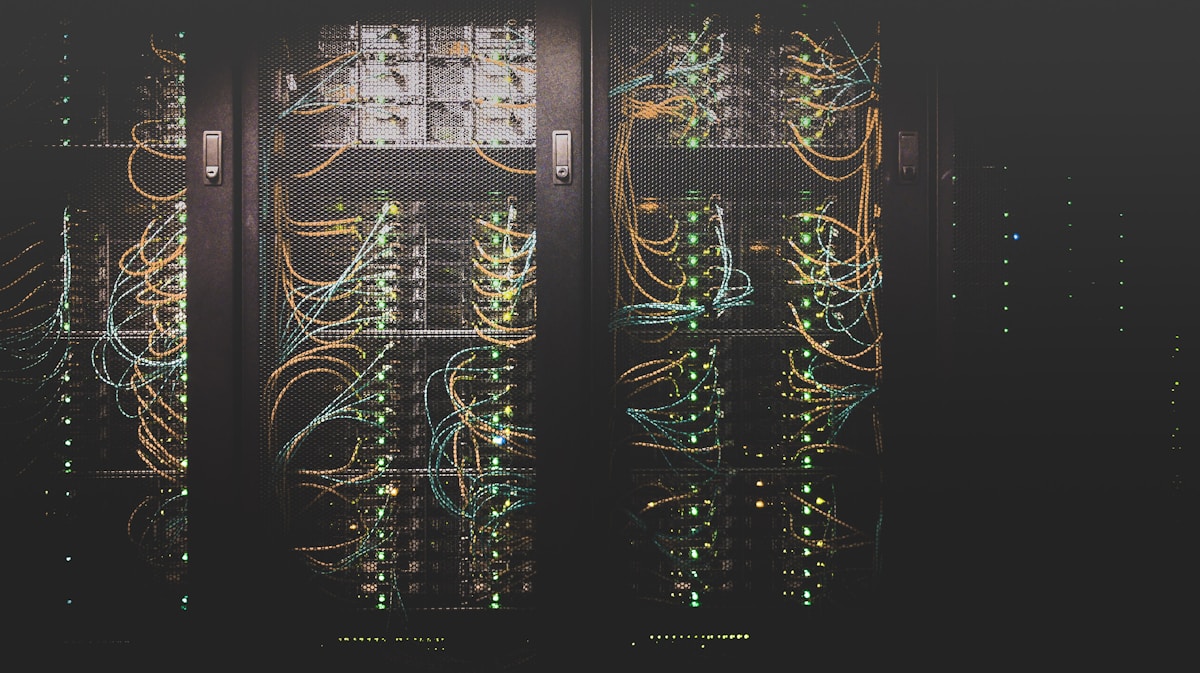
That mini PC on your desk? It can run your own cloud, VPN, media server, and more.
The tech industry wants you to pay monthly fees for everything. Cloud storage, password managers, streaming services, note-taking apps—the subscriptions pile up. But here's a secret that IT professionals have known for years: you can run most of these services yourself, for free, on hardware you already own or can buy cheaply.
A home lab is simply a personal computing environment where you experiment, learn, and run services. It sounds intimidating, but in 2026 the barriers have never been lower. A $200 mini PC consumes less power than a light bulb while teaching you skills that companies pay six figures for.
This guide walks you through everything: what hardware to start with, which software to install, and the essential services that make self-hosting worthwhile. No enterprise experience required. By the end, you'll have a working home lab running real services.
What is a Home Lab?
A home lab is your personal computing playground—a dedicated environment for running services, learning technologies, and experimenting without consequences. It can be a single device or a full rack of servers, but the principle remains the same: you control the infrastructure.
What You Can Actually Do
The possibilities expand as you learn, but here are concrete examples that make home labbing worthwhile:
- Run your own cloud storage: Nextcloud replaces Google Drive and Dropbox, syncing files across all your devices with no storage limits beyond your hard drives.
- Block ads network-wide: Pi-hole eliminates advertisements on every device in your home, including smart TVs and phones, without installing anything on the devices themselves.
- Host a media server: Jellyfin or Plex streams your movie and music collection to any device, anywhere, with a Netflix-like interface.
- Run game servers: Minecraft, Valheim, Terraria—host dedicated servers for you and your friends without paying monthly fees.
- Learn enterprise technologies: Kubernetes, Docker, networking, automation—skills that directly translate to high-paying IT careers.
Why Bother?
Own your data: No company can change terms of service, shut down, or mine your files for AI training. Your data stays on your hardware.
Learn marketable skills: Every Fortune 500 company uses virtualization, containers, and networking. Home labs teach these technologies hands-on.
It's genuinely fun: There's deep satisfaction in building something that works, solving problems, and having complete control over your digital life.
Hardware: Start Small
The biggest mistake beginners make is buying too much hardware before they know what they need. Start with one device. Learn on it. Expand only when you understand your actual requirements.
The Mini PC Approach (Recommended)
Intel N100-based mini PCs have transformed home labbing. These tiny boxes cost $150-250, consume 15-25 watts (about $20-40/year in electricity), run silently, and pack enough power for serious self-hosting.
Look for these specs in a starter mini PC:
- Intel N100 or N305 processor
- 16GB RAM minimum (32GB if budget allows)
- 256GB+ NVMe SSD
- Multiple ethernet ports (bonus, not required)
Popular options include the Beelink EQ12, MinisForum UN100, and GMKtec NucBox. All perform similarly for home lab use.
Budget Build Examples
| Budget | Hardware | RAM | Good For |
|---|---|---|---|
| $100 | Used Dell Optiplex | 8GB | Learning basics, single services |
| $200 | N100 mini PC | 16GB | Docker services, light virtualization |
| $400 | N100 + NVMe storage | 32GB | Multiple VMs + Docker |
| $600+ | Ryzen mini PC | 64GB | Full home lab, heavy workloads |
Old Hardware Works
Before buying anything, check what you already have. A retired laptop, old desktop, or unused office PC can become a capable home lab. Requirements are minimal:
- 8GB RAM minimum (16GB preferred)
- SSD strongly recommended (HDD works but feels slow)
- 64-bit processor from the last decade
Free is hard to beat. The only catch: older hardware uses more electricity. An old desktop might cost $80-150/year to run 24/7 versus $20-40 for a modern mini PC. Factor this into your decision if you plan to keep it running constantly.
Operating Systems: The Foundation
Your operating system choice affects everything you'll do afterward. Here are the main options, each with distinct strengths.
Proxmox VE (Recommended for Learning)
Proxmox VE is a free, enterprise-grade hypervisor. It installs directly on hardware (replacing Windows or Linux) and lets you create both virtual machines and containers from a web interface.
How it works:
- Install Proxmox on bare metal (it becomes your only OS)
- Access management through web browser at
https://[your-ip]:8006 - Create virtual machines (full operating systems with allocated resources)
- Create LXC containers (lightweight Linux environments sharing the host kernel)
- Manage storage, networking, and backups from one interface
Why Proxmox: It teaches virtualization concepts used everywhere in enterprise IT. Skills transfer directly to VMware, AWS, Azure, and other platforms. The web interface makes complex operations approachable.
Alternatives
Unraid ($59-129): More user-friendly than Proxmox with a community app store. Excellent for NAS-focused setups. The license fee is one-time, not subscription.
TrueNAS Scale (Free): Built around ZFS storage with strong data protection. Best if your primary goal is a NAS with services on top.
Ubuntu Server + Docker (Free): Skip the hypervisor entirely. Install Ubuntu, add Docker, run containers. Simpler architecture but less isolation between services.
Which to Choose
Want to learn enterprise technologies? Proxmox.
Want the easiest setup? Unraid.
Just want containers without complexity? Ubuntu + Docker.
Primary focus on storage? TrueNAS Scale.
Containers: Docker Basics
Docker changed self-hosting forever. Instead of manually installing software, configuring dependencies, and troubleshooting conflicts, you download pre-packaged containers that "just work."
What is Docker?
Docker packages applications with all their dependencies into containers—isolated environments that run consistently across any system. Think of containers as lightweight virtual machines that start in seconds and share the host's operating system kernel.
Why it matters for self-hosting:
- Install complex apps with one command
- No dependency conflicts between services
- Easy updates and rollbacks
- Portable configurations
- Massive library of pre-built containers
Key Concepts
Image: A template for creating containers. You download images from Docker Hub or other registries.
Container: A running instance of an image. You can have multiple containers from the same image.
Volume: Persistent storage that survives container restarts. Without volumes, data disappears when containers stop.
docker-compose: A file format for defining multi-container applications. Most self-hosted apps provide docker-compose files you can use directly.
Your First Container
Here's a complete docker-compose file for Uptime Kuma, a service that monitors your websites and alerts you when they go down:
# docker-compose.yml
version: "3"
services:
  uptime-kuma:
    image: louislam/uptime-kuma
    ports:
      - "3001:3001"
    volumes:
      - ./data:/app/data
    restart: always
Save this as docker-compose.yml, then run:
docker compose up -dThat's it. Open http://your-server-ip:3001 in a browser. You have a monitoring service running.
Container Management
The command line works, but graphical tools make container management much easier:
Portainer: The established standard. Full-featured Docker management via web interface. Free Community Edition handles most use cases.
Dockge: Lightweight alternative focused on docker-compose management. Clean interface, lower resource usage.
Komodo: Newer option gaining popularity in 2026. Combines container management with git-based deployments.
Essential Services to Start With
Don't try to self-host everything at once. Start with services that provide immediate value and teach fundamental concepts.
Tier 1: Set Up First
Pi-hole (Network-Wide Ad Blocking)
Pi-hole acts as your network's DNS server, blocking advertisement and tracking domains before they reach any device. One installation covers your entire household—phones, tablets, smart TVs, everything.
- Blocks ads in apps, not just browsers
- Beautiful dashboard showing blocked queries
- Improves network performance by eliminating ad traffic
- No configuration needed on client devices
Uptime Kuma (Monitoring)
Monitor your services and external websites. Get notifications when something goes down. The dashboard alone is satisfying—seeing all your services with green checkmarks becomes oddly addictive.
Portainer (Container Management)
A web interface for managing Docker. View running containers, check logs, restart services, and deploy new applications without touching the command line.
Tier 2: Quality of Life
Nextcloud (Personal Cloud)
Your own Google Drive. Sync files across devices, share with family, backup photos from your phone. Calendar and contacts sync replace Google Calendar. The mobile apps work seamlessly.
Jellyfin (Media Server)
Stream your movie and TV collection with a Netflix-like interface. Unlike Plex, Jellyfin is completely free with no features locked behind subscriptions. Handles music too.
Vaultwarden (Password Manager)
Self-hosted Bitwarden. Full-featured password manager with browser extensions and mobile apps. Your passwords stay on your server, not in someone else's cloud.
Networking Basics
Understanding your home network makes everything else easier. You don't need to become a network engineer, but grasping fundamentals prevents frustration.
Your Home Network
Your router assigns IP addresses to devices using DHCP. These addresses can change—your laptop might be 192.168.1.50 today and 192.168.1.75 tomorrow. That's fine for regular devices, but servers need consistent addresses.
Static IPs: Configure your router to always assign the same IP to your server. Look for "DHCP reservations" or "static DHCP" in your router settings. Pick an address outside the normal DHCP range (e.g., 192.168.1.100) to avoid conflicts.
Accessing Services
Locally: Access services by IP and port. If Jellyfin runs on port 8096 and your server is 192.168.1.100, access it at http://192.168.1.100:8096.
Remotely: Accessing services from outside your home requires additional setup. Never expose services directly to the internet without understanding security implications.
Reverse Proxy
A reverse proxy sits in front of your services, handling incoming requests and routing them appropriately. Benefits include:
- Single entry point for all services
- Automatic HTTPS certificates
- Friendly URLs like
jellyfin.yourdomain.cominstead of:8096 - Centralized authentication
Popular options: Traefik (automatic configuration with Docker), Nginx Proxy Manager (beginner-friendly GUI), Caddy (simple config files).
Remote Access Options
Tailscale (Easiest): Creates a mesh VPN between your devices. Install on your server and phone, and you can access home services from anywhere. Free for personal use. Zero configuration required.
WireGuard: Fast, modern VPN protocol. More control than Tailscale but requires manual configuration. Built into many router firmwares.
Cloudflare Tunnel: Routes traffic through Cloudflare without opening ports on your router. Good security but depends on Cloudflare's free tier continuing.
For related networking concepts, see our cloud computing beginner's guide.
Learning Path: Your First Month
Here's a realistic progression that builds skills systematically without overwhelming you.
Week 1: Foundation
- Install Proxmox VE on your hardware (or Ubuntu Server if you prefer simpler)
- Create your first VM or container
- Install Docker
- Deploy Portainer for visual container management
- Set up Pi-hole and configure your router to use it as DNS
Goal: Understand how virtualization and containers work. Have ad-blocking running network-wide.
Week 2: Services
- Deploy Jellyfin and add some media
- Set up Uptime Kuma to monitor your services
- Learn to read docker-compose files
- Practice starting, stopping, and updating containers
Goal: Comfortable deploying services from docker-compose files. Understand volumes and port mappings.
Week 3: Networking
- Configure static IP for your server
- Install Tailscale for remote access
- Try a reverse proxy (Nginx Proxy Manager is beginner-friendly)
- Access your services remotely via Tailscale
Goal: Access your lab from anywhere. Understand basic networking concepts.
Week 4: Expansion
- Deploy Nextcloud for personal cloud storage
- Set up automated backups of your configurations
- Join r/homelab and r/selfhosted communities
- Make a list of what you want to explore next
Goal: Have a functional, useful home lab. Know where to find help and inspiration.
Common Mistakes to Avoid
Learn from others' mistakes. These are the pitfalls that trip up almost every beginner.
Buying Too Much Hardware
You don't need a server rack. You don't need enterprise equipment. Start with one device, learn on it, expand when you actually need more capacity. That mini PC handles more than you'd expect.
Ignoring Backups
Your docker-compose files and configuration data are precious. A failed drive shouldn't mean rebuilding everything from memory. Back up configurations from day one. The 3-2-1 rule: 3 copies, 2 different media types, 1 offsite.
Exposing Services Directly
Don't port-forward services to the internet without understanding security. Use Tailscale or a VPN first. If you must expose services, use a reverse proxy with authentication. The internet is actively hostile.
Running Too Many Services
It's tempting to deploy everything that looks interesting. Resist. Start with 2-3 services. Master them. Understand their resource usage. Then expand thoughtfully. A server running 50 containers you don't use teaches nothing.
Skipping Documentation
Keep notes on what you configured and why. Future you will forget. A simple text file or wiki (Obsidian, BookStack) saves hours of troubleshooting later.
Resources
Communities:
- r/homelab: Reddit's home lab community. Inspiration, help, and hardware deals.
- r/selfhosted: Focused on self-hosted applications and services.
YouTube Channels:
- Jeff Geerling: Deep dives into Raspberry Pi, servers, and automation.
- Techno Tim: Home lab tutorials, especially Docker and Kubernetes.
- NetworkChuck: Energetic networking and home lab content for beginners.
Documentation:
- Awesome-Selfhosted (GitHub): Comprehensive list of self-hosted software options.
- Proxmox Wiki: Official documentation, surprisingly readable.
- LinuxServer.io: High-quality Docker images with excellent documentation.
Conclusion
A home lab doesn't require enterprise hardware or enterprise knowledge. One mini PC, Proxmox or Ubuntu, and Docker give you a platform for learning skills worth real money while running services that improve your daily life.
Start with Pi-hole—the immediate benefit of ad-free browsing provides motivation to keep learning. Add Jellyfin when you're ready for media streaming. Build from there as interests develop.
The skills transfer directly to careers in DevOps, cloud computing, and system administration. Companies pay handsomely for people who understand virtualization, containers, and networking. Your home lab is a resume-building playground.
Most importantly, the community is remarkably helpful. r/homelab and r/selfhosted welcome beginners. Questions that feel stupid have been asked a thousand times before—and answered kindly each time.
That old laptop collecting dust? It's a data center waiting to happen.
Frequently Asked Questions
What can I do with a home lab?
Run services you'd otherwise pay monthly for: cloud storage (Nextcloud), media streaming (Jellyfin), password management (Vaultwarden), ad blocking (Pi-hole), and game servers. Beyond practical services, home labs teach virtualization, containers, networking, and automation—skills valued in IT careers. Many people start with a specific goal (like ad blocking) and discover they enjoy the learning process as much as the results.
How much does a home lab cost?
You can start with hardware you already own at zero cost. A capable N100 mini PC costs $150-250. Budget builds using used Dell Optiplex machines run $50-100. The sweet spot for beginners is around $200 for a mini PC that handles Docker services efficiently while using minimal electricity ($20-40/year). You can always expand later—start small and let your needs guide purchases.
Is Proxmox hard to learn?
The basics are approachable. Installation takes 15 minutes and the web interface is intuitive for creating VMs and containers. Within a weekend, most people can install Proxmox, create their first VM, and run Docker containers. Advanced features like clustering and ZFS storage take more time, but you don't need them to start. If Proxmox feels intimidating, Ubuntu Server with Docker is a simpler alternative that still teaches valuable skills.
Do I need a lot of technical knowledge?
You need basic computer comfort and willingness to learn. If you can follow instructions and aren't afraid of the command line, you have enough. The home lab community produces excellent tutorials assuming zero prior knowledge. You'll learn Linux, networking, and containers as you go—that's the point. Most services can be deployed by copying docker-compose files and changing a few values. Start simple and complexity becomes manageable over time.
How much electricity does a home lab use?
Modern mini PCs (N100-based) use 15-25 watts—less than a light bulb. Running 24/7, that's roughly $20-40/year depending on electricity rates. Older desktop computers use 60-150 watts, costing $80-150/year. Gaming-class hardware or multiple servers increase consumption significantly. If electricity cost matters, start with efficient modern hardware. A kill-a-watt meter helps measure actual usage before committing to 24/7 operation.


Comments ()